Legacy TAMV
Jump to navigation
Jump to search
Legacy (old) Installation steps for TAMV
- Enable boot to desktop and VNC for your Raspberry Pi
- Connect to the Raspberry Pi using VNC Viewer on Windows
- Install the TAMV script
- Updating TAMV
- (pending) Webcam mounting and TAMV preparation
- (pending) Running TAMV calibration for the first time
- (pending) Post calibration checklist
What you’ll need before you start
- A Raspberry Pi with a working installation of Raspbian, with an internet connection from the Pi
- Your SUDO user of choice (default is usually the “pi” user) and SUDO password (default is “raspberry”) with SSH login
- An SSH client of your choosing, such as Windows 10 built in ‘winterm’ and ‘ssh’ or install PuTTY
- A VNC client of your choosing, such as VNC Viewer
Enable boot to desktop and VNC for your Raspberry Pi
- Login via SSH to your Raspberry Pi and and run the Raspberry Pi config tool using the command:
sudo raspi-config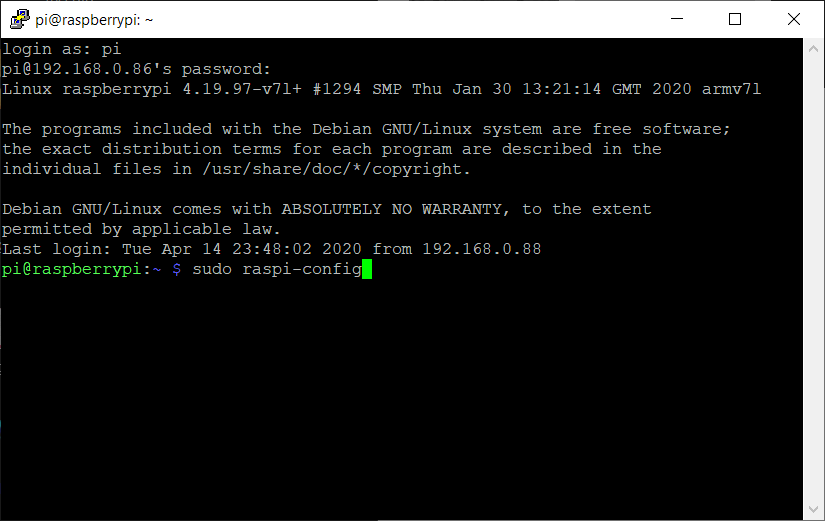
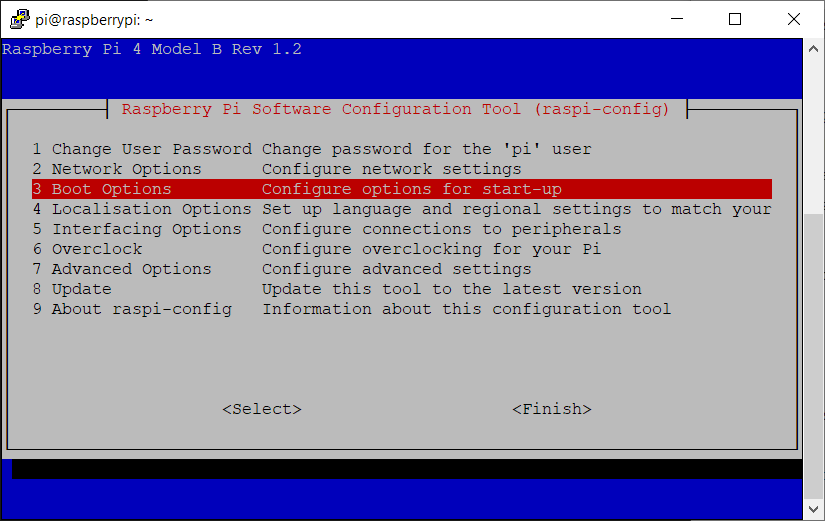
- Select “3 Boot Options”
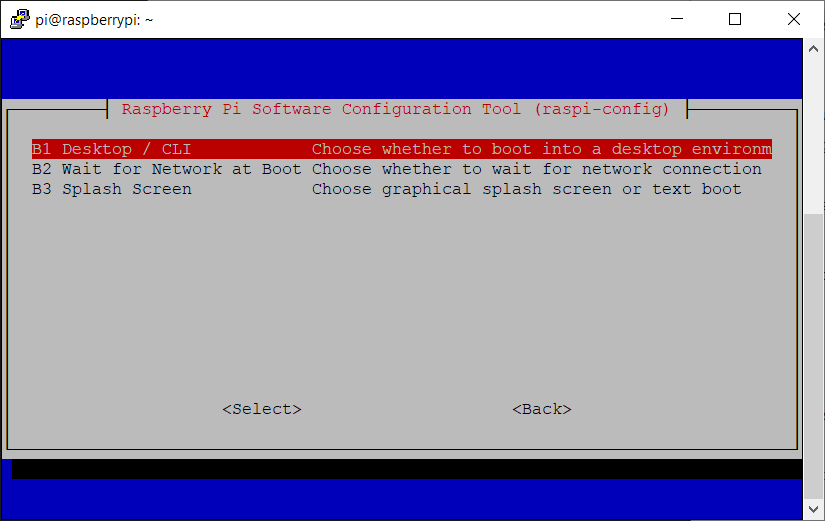
- Select “Desktop / CLI”
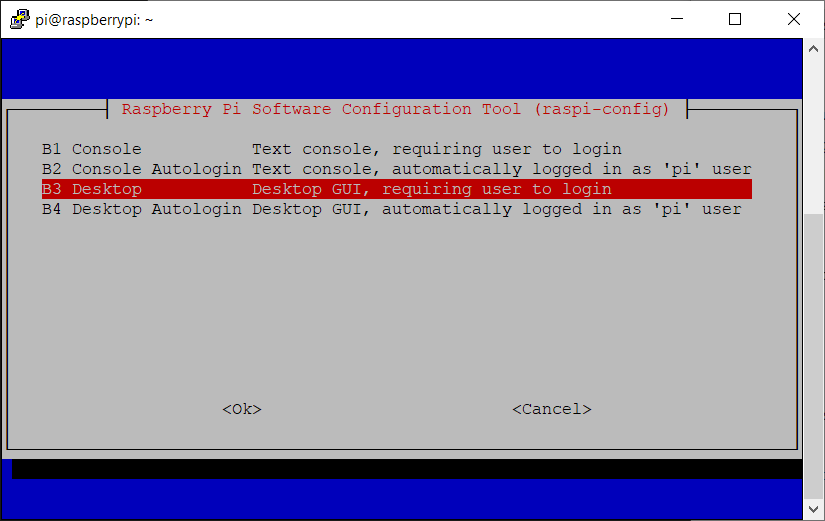
- Select “Desktop”
- Now from the main menu, select “5 Interfacing Options”
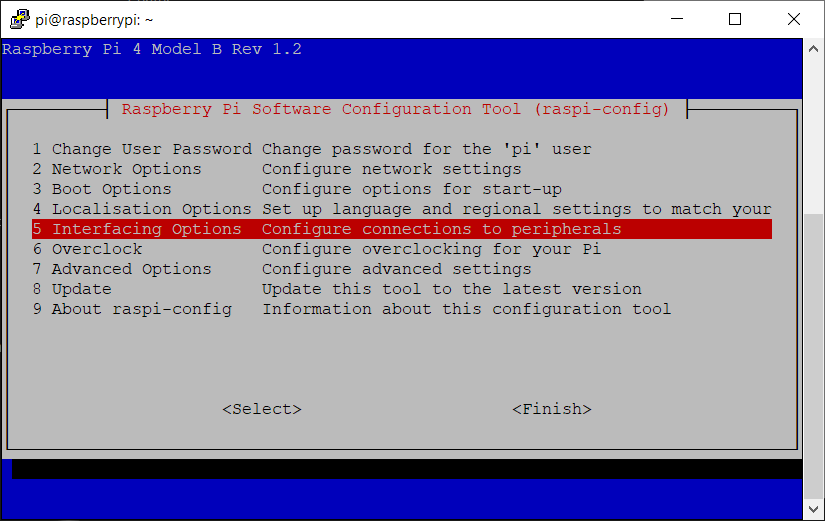
- Select “VNC”
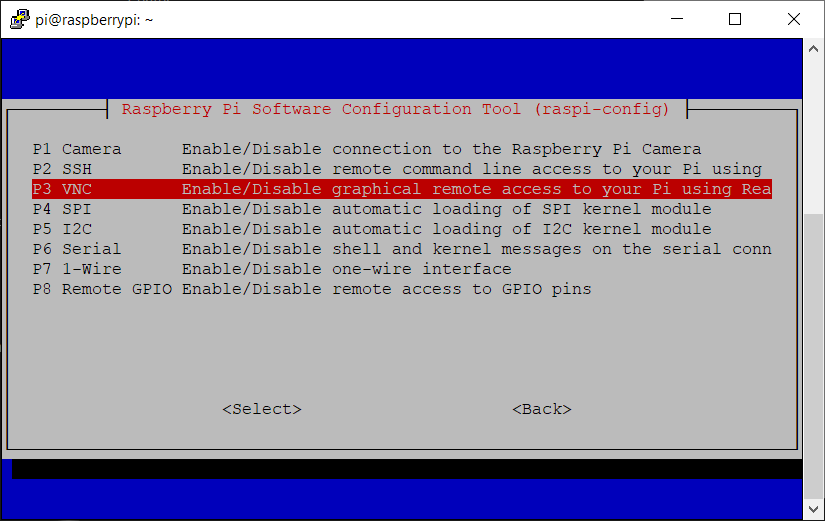
- Confirm that you would like to enable VNC server by selecting “Yes”
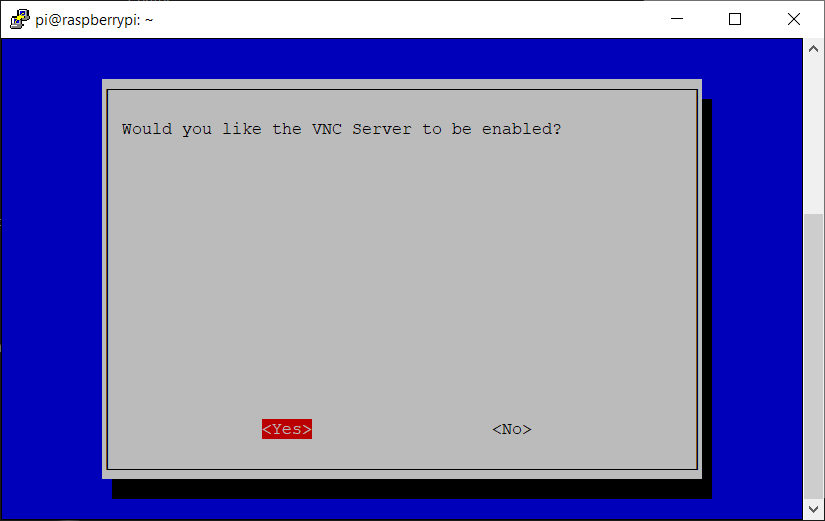
- You’ll get a confirmation that the VNC server has been enabled
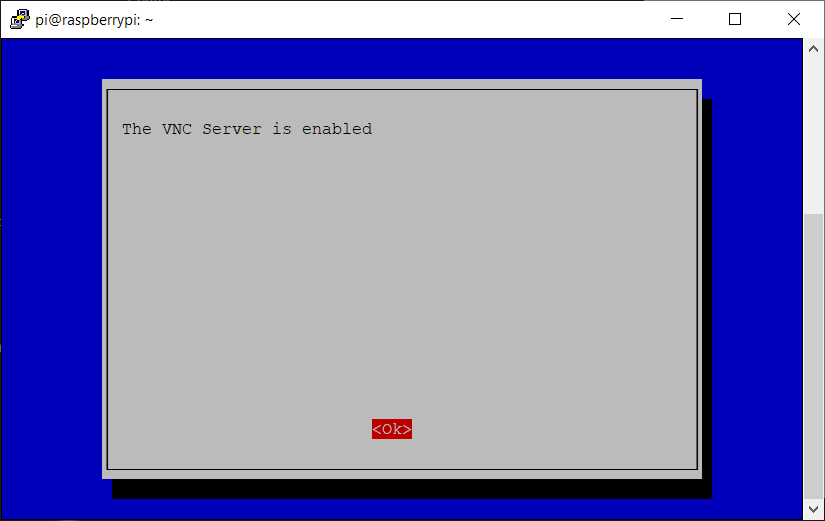
- Select the “7 Advanced Options” from the main menu
- Select “Resolution”
- Select “DMT Mode 16 1024x768” or any other resolution you’d like
- Once you’re done, reboot the Raspberry Pi!
Connect to the Raspberry Pi using VNC Viewer on Windows
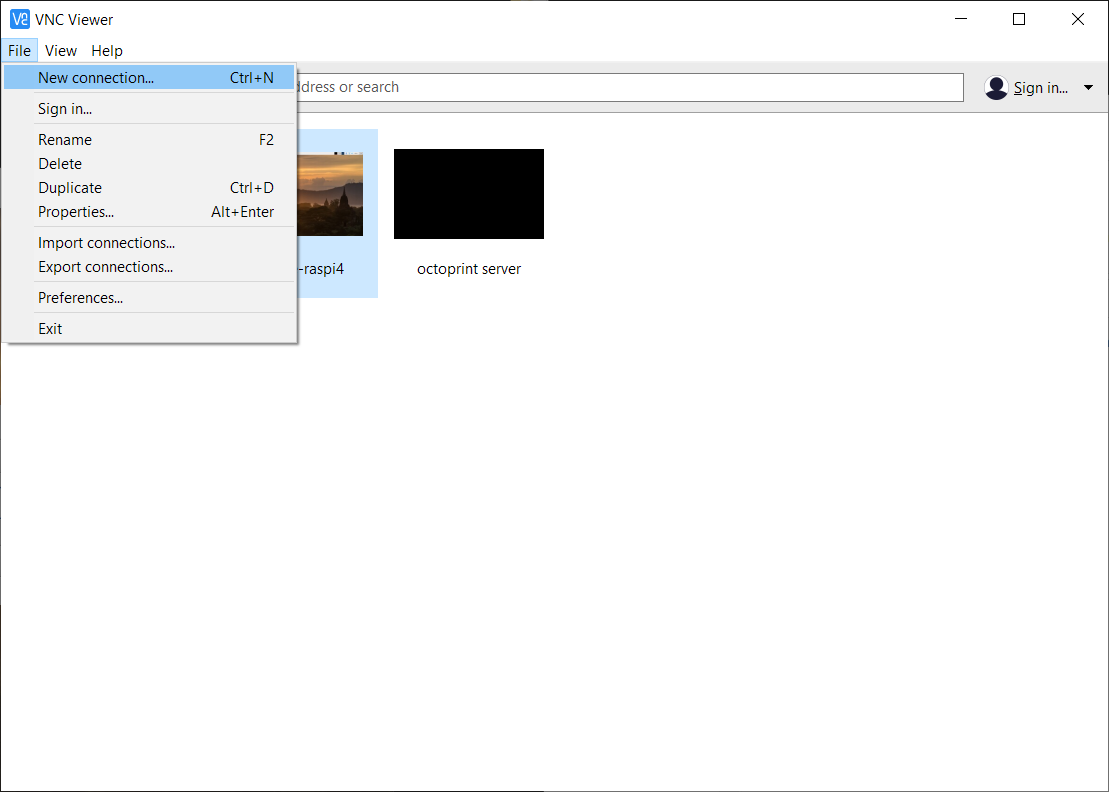
- Launch VNC Viewer on your computer, and select “File” -> “New connection…”
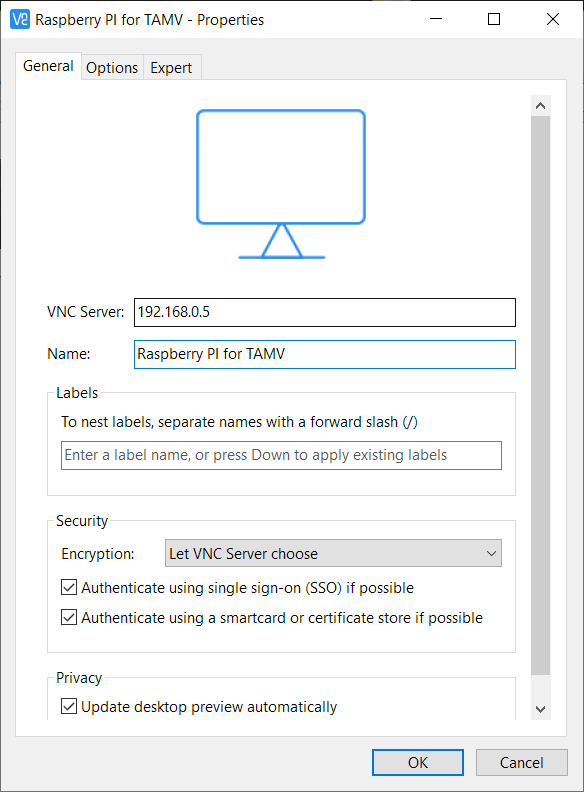
- Enter the IP address or network name of your Raspberry Pi in the “VNC Server” field, and give this connection a name to identify it in the VNC viewer connection list
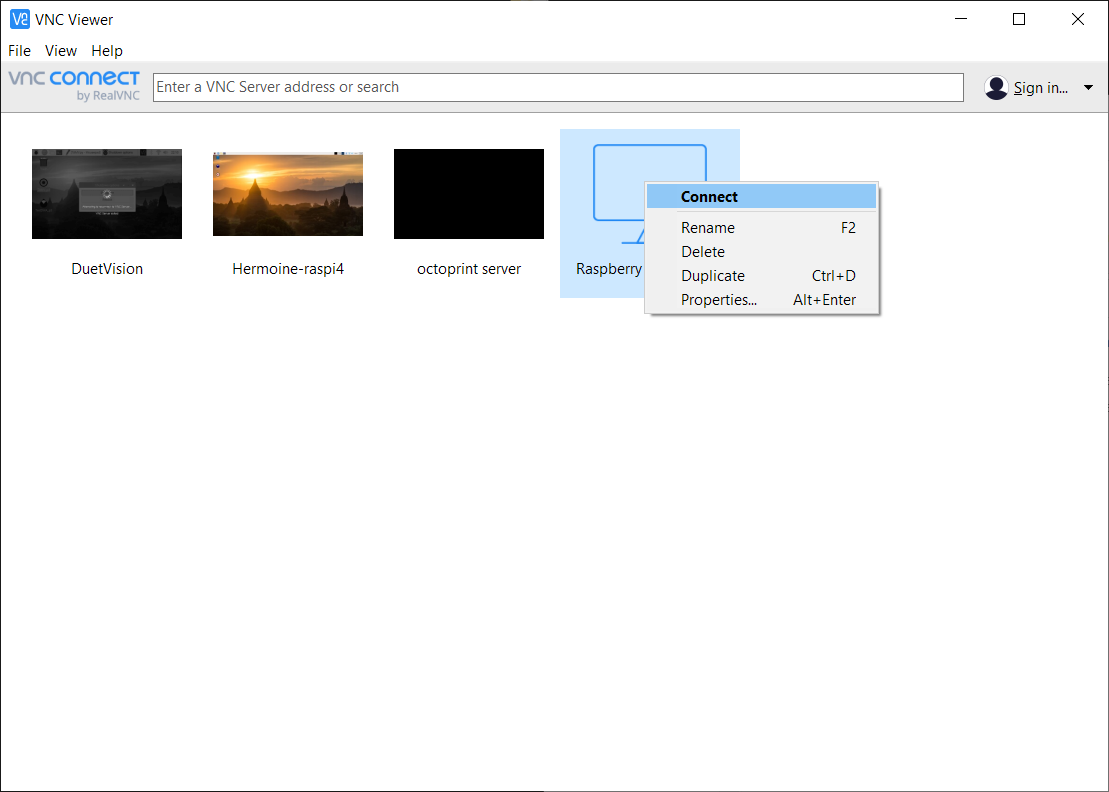
- Right-click on the new connection you’ve just created and select “Connect”
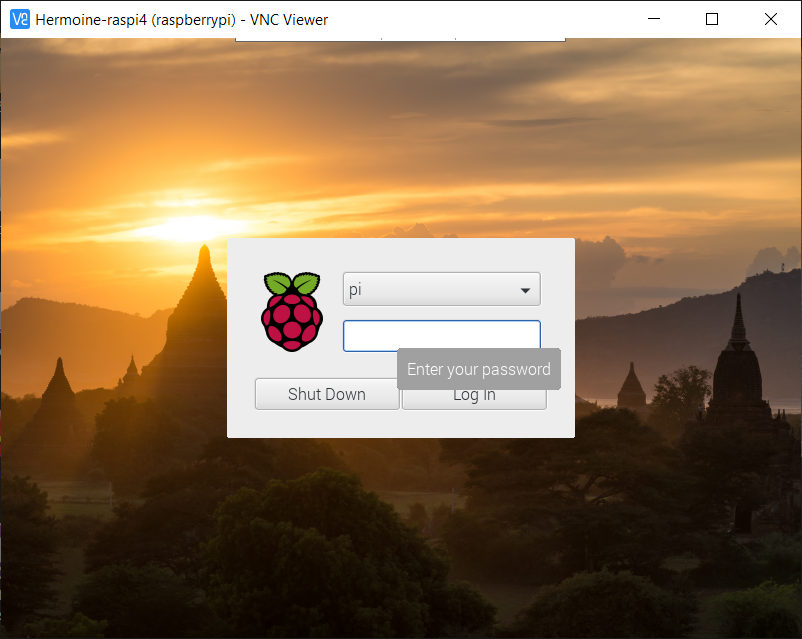
- You’ll be connected to your Raspberry Pi and prompted for a username and password. Use your SUDO login credentials (most commonly the Pi user) and click “Log In”
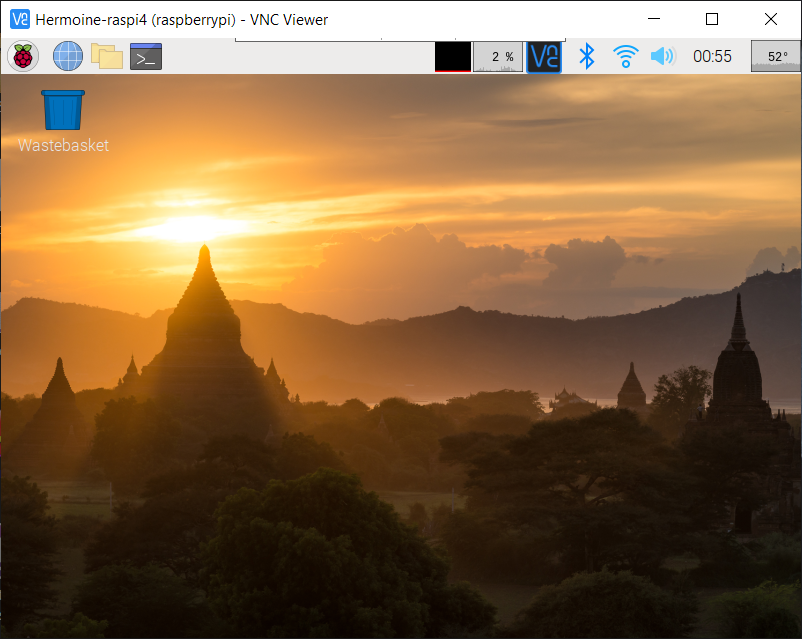
- Welcome to the Raspbian desktop! Your background and interface may vary depending on the version of Raspbian you have running on the Pi
Install the TAMV script
- Launch a new “Terminal” process to access the CLI (Command Line Interface) of your Pi
- Run the following command from the prompt, which will clone the GitHub repo to the current folder you’re in:
git clone https://github.com/HaythamB/TAMV.git - Once the clone is done, you’ll need to switch to the new folder using:
cd TAMVand then run the installation script using:./install_opencv.shThis will install all the required dependencies and libraries for TAMV to run on your machine, and should take less than 15 minutes on a Raspberry Pi 4 with 4GB of memory. If the script won't run for some reason, typechmod a+x ./install_opencv.shto make it executable and try running it again. - TAMV is installed, move on to the next step to get it up and calibrating.
Updating TAMV
- Launch a new “Terminal” process to access the CLI (Command Line Interface) of your Pi
cd TAMVgit pull- All done.
If, for some reason, you fail to update using GIT, then simply save your config/settings.json file somewhere, then delete the entire TAMV folder, and re-download it and run again.
(pending) Webcam mounting and TAMV preparation
Preliminary steps
- Mount webcam somewhere fixed on the bed using gluestick/double sided tape OR on the frame in a spot where the nozzle of the tool can be positioned over the lens.
- Shorten webcam focal distance to about an inch away from the lens (webcams are generally set up for longer focus distances so this would probably necessitate opening up the camera shell and manually turning a focus ring)
- Heat nozzles and clean up all nozzles from gunk and filament blobs to enable correct nozzle circle detection in TAMV.
- Make sure they cool. You don’t want to ‘drool’ on the camera!
- Set tool active and standby temperatures to 0 before running TAMV again to avoid drooling.
(pending) Running TAMV calibration for the first time
- Run TAMV with no arguments. This MUST be on a VNC session, not ssh (because you have to see the graphic image).
cd
cd TAMV
python3 ./TAMV.py - Connect to your printer using the on-screen prompts (the green connect button at the top left of the application screen).
- Jog your Jubilee Z probe into view of the camera and align it to save as your control point. (Alternatively, you can use the auto-CP detection function to do this automatically). Save your CP.
- Select which tools to align using the checkboxes next to the tool designations on the right hand side of the screen.
- Start calibration!
Once calibration is completed, the new measured offsets are already applied to your machine and saved using an M500 command to your config-override.g. You need to make sure the last line of your config.g contains an M501 command for this feature to be active on a Duet controller.
(pending) Post calibration checklist
- Remove webcam from build plate
- If you have already manually aligned Z, time to print!