TAMV
Overview
In order to achieve the highest possible precision when using multiple tools, Danal Estes graciously created the Tool Alignment with Machine Vision (TAMV) and Z Tool Align with Touch Plate (ZTATP) programs that allow us to correctly determine both XY and Z offsets for multiple independent tools on a toolchanger platform. For the Jubilee community, an updated version is maintained with slight enhancements as the current version referenced in this wiki, and you can always access the original release by Danal here.
- TAMV = Tool Alignment with Machine Vision
- TAMV is a fully automated process that uses a camera to calculate XY tool offsets set with G10 L1 tool offsets that go in config.g to correctly set the XY alignment for correct tool-to-tool behavior when printing.
- ZTATP = Z Tool Align with Touch Plate
- ZTATP is a partially automated process that uses a touch plate to calculate Z tool offsets also set with G10 L1 tool offsets that go in config.g to correctly set the Z alignment for tool-to-tool correct behavior when printing. It also sets the bed-to-tool-zero spacing!
- For information on ZTATP, check out the Jubilee ZTATP Wiki Page.
Special note to AVOID MACHINE DAMAGE
TAMV will move your tools around in ways that may be different than day-to-day printing.
In particular, if your camera is anywhere beyond the Y coordinate of the parking stalls for other tools, collisions could occur. To ensure this does not happen, two things must be true:
- TAMV expects a tool change, as initiated by a T0 or T1 or so forth, will not cause a collision, no matter where the tool is when the tool change initiates.
- It is entirely possible that your tool change macros do not ensure this today, particularly when a ‘current tool’ is beyond the Y line of the parking stalls at the moment a tool change is initiated.
- TAMV itself will always “manhattan move”, that is move in square blocks, and will move X (only!) first, they Y (only!) as required to get FROM wherever the tool is after a Tx, TO the camera.
- If (big IF) your tool change macros end with the tool at a ‘safe Y’, then ‘Manhattan moves’ will always prevent collisions. In fact, this form of move is best practice within your tool change macros.
Please read this section for more information.
Requirements
- Rasberry Pi 3B or 4B, with USB attached camera (no Picam at this time).
- Almost any webcam with auto-exposure and the ability to focus within a few centimeters of the lens will work. Logitech C270 is one that is known to have a threaded lens and a case that can be removed and replaced with a printed case.
- A Duet printer, reachable from the Pi by network, running V2 or V3 firmware
- May run on Duet3+Pi; does NOT require that configuration, run on any Pi.
Useful Links for TAMV
- Set up headless Raspberry Pi VNC
- VNC Viewer for Windows (freeware)
- PuTTY SSH client for Windows (freeware)
Installation steps for TAMV
- Enable boot to desktop and VNC for your Raspberry Pi
- Connect to the Raspberry Pi using VNC Viewer on Windows
- Install the OpenCV libraries and dependencies
- Install the TAMV script
- (pending) Webcam mounting and TAMV preparation
- (pending) Running TAMV calibration for the first time
- (pending) Post calibration checklist
- Updating To Latest
What you’ll need before you start
- A Raspberry Pi with a working installation of Raspbian, with an internet connection from the Pi
- Your SUDO user of choice (default is usually the “pi” user) and SUDO password (default is “raspberry”) with SSH login
- An SSH client of your choosing, such as Windows 10 built in ‘winterm’ and ‘ssh’ or install PuTTY
- A VNC client of your choosing, such as VNC Viewer
Enable boot to desktop and VNC for your Raspberry Pi
- Login via SSH to your Raspberry Pi and and run the Raspberry Pi config tool using the command:
sudo raspi-config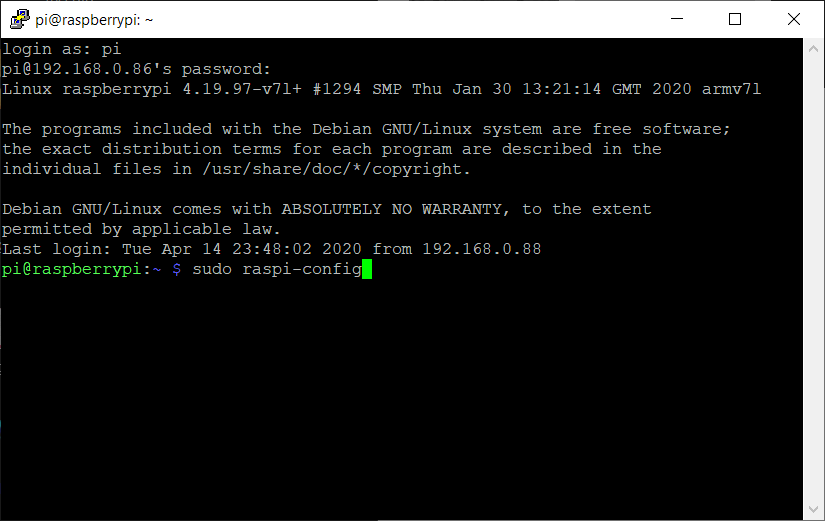
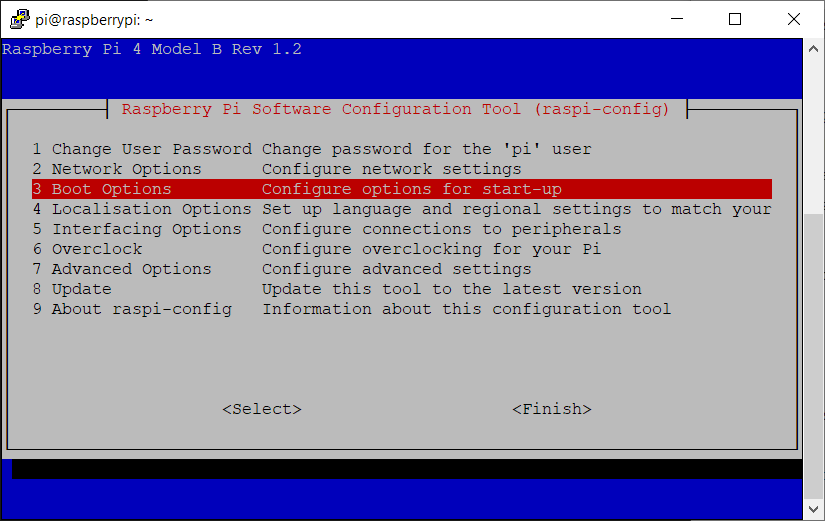
- Select “3 Boot Options”
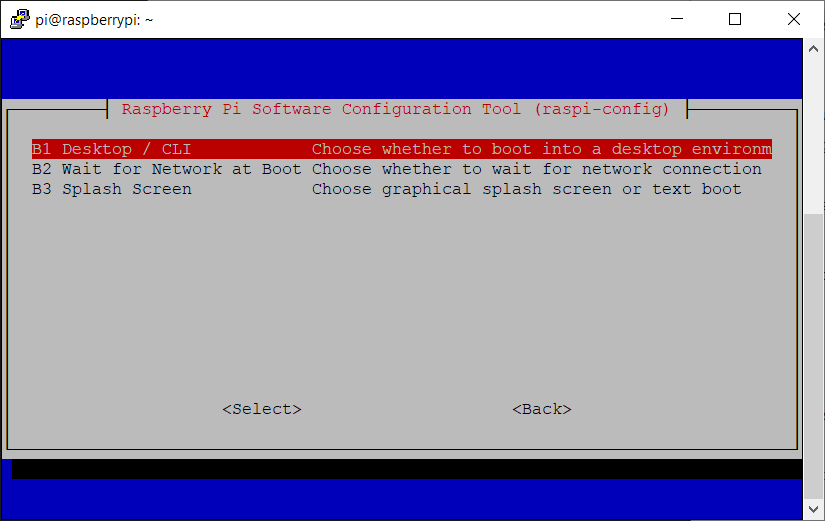
- Select “Desktop / CLI”
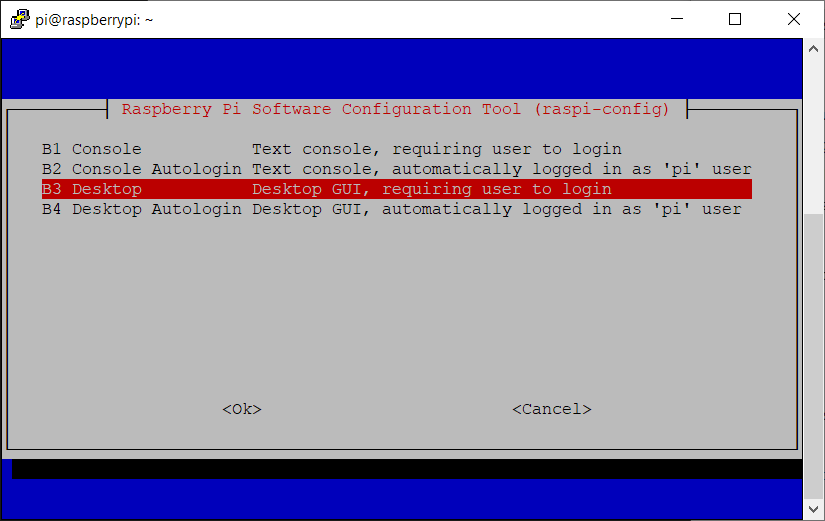
- Select “Desktop”
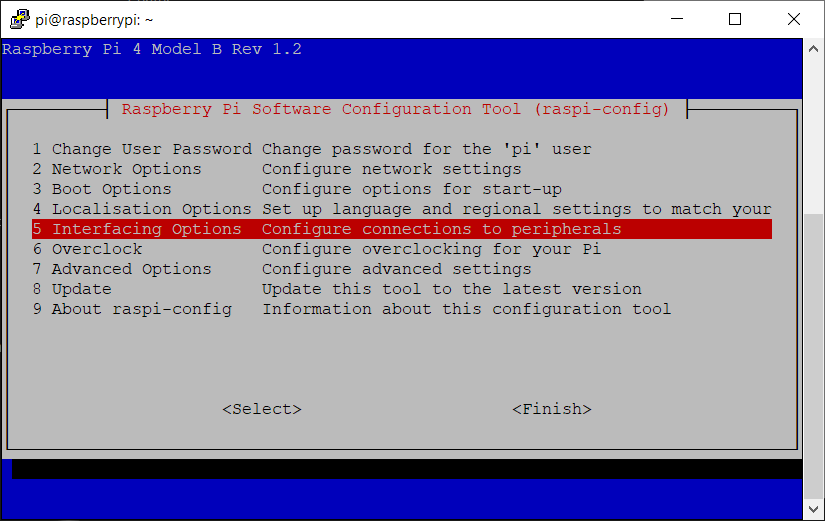
- Now from the main menu, select “5 Interfacing Options”
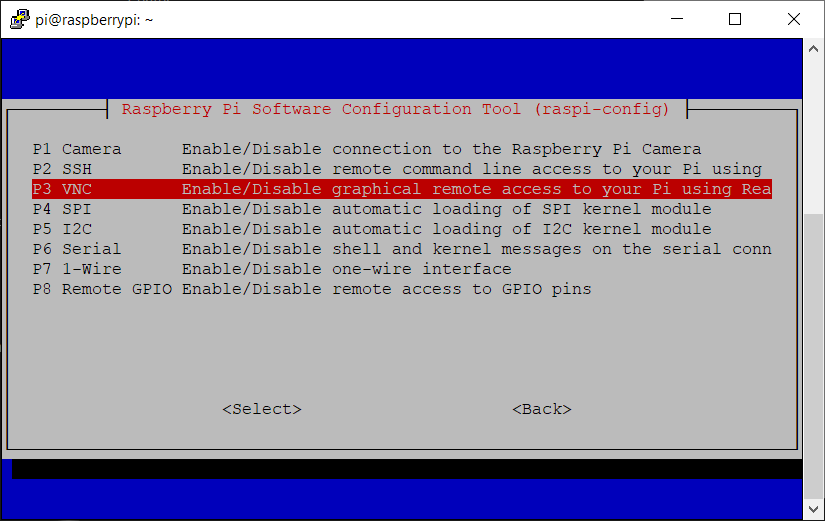
- Select “VNC”
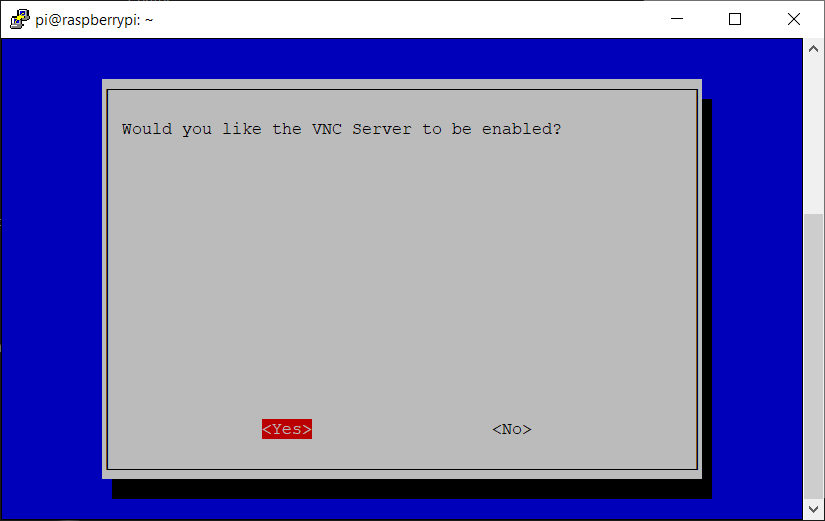
- Confirm that you would like to enable VNC server by selecting “Yes”
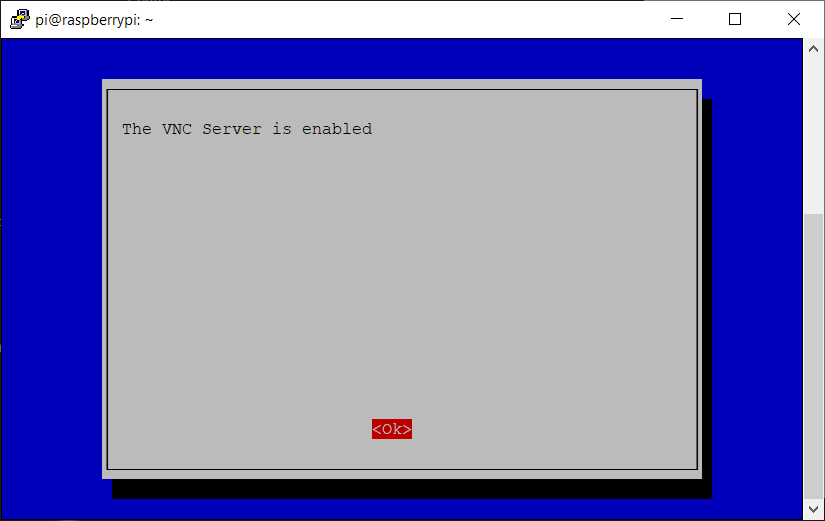
- You’ll get a confirmation that the VNC server has been enabled
- Select the “7 Advanced Options” from the main menu
- Select “Resolution”
- Select “DMT Mode 16 1024x768” or any other resolution you’d like
- Once you’re done, reboot the Raspberry Pi!
Connect to the Raspberry Pi using VNC Viewer on Windows
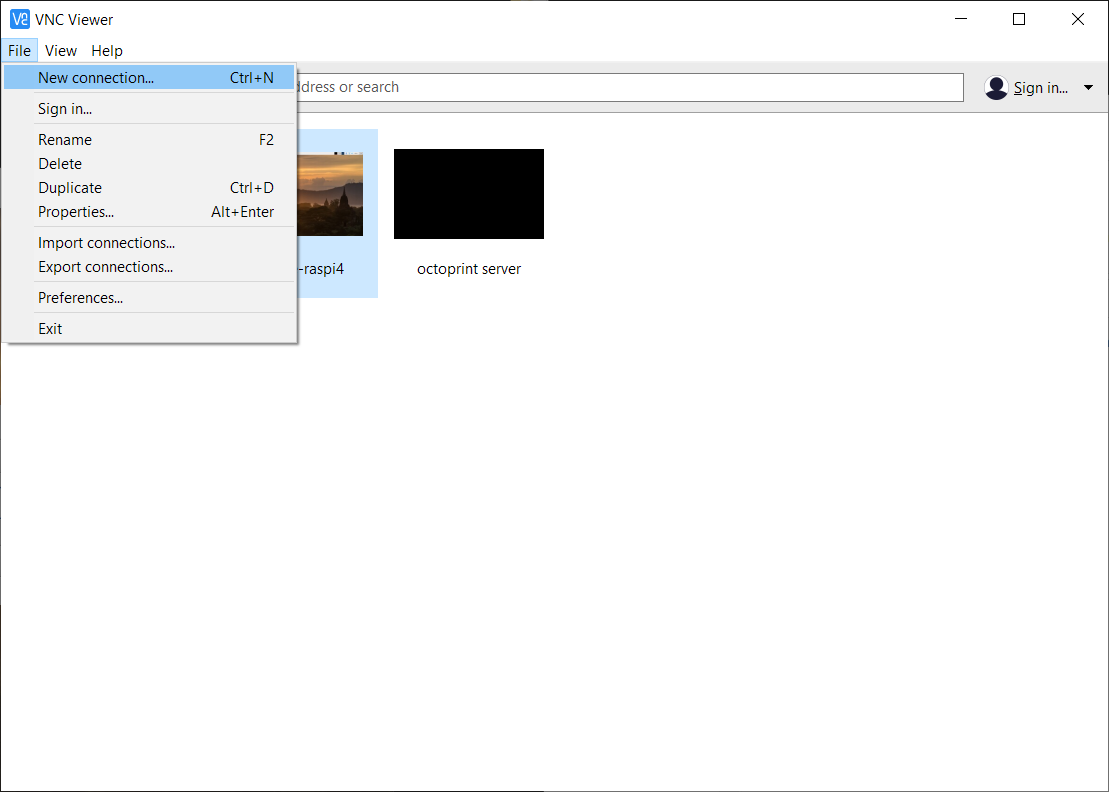
- Launch VNC Viewer on your computer, and select “File” -> “New connection…”
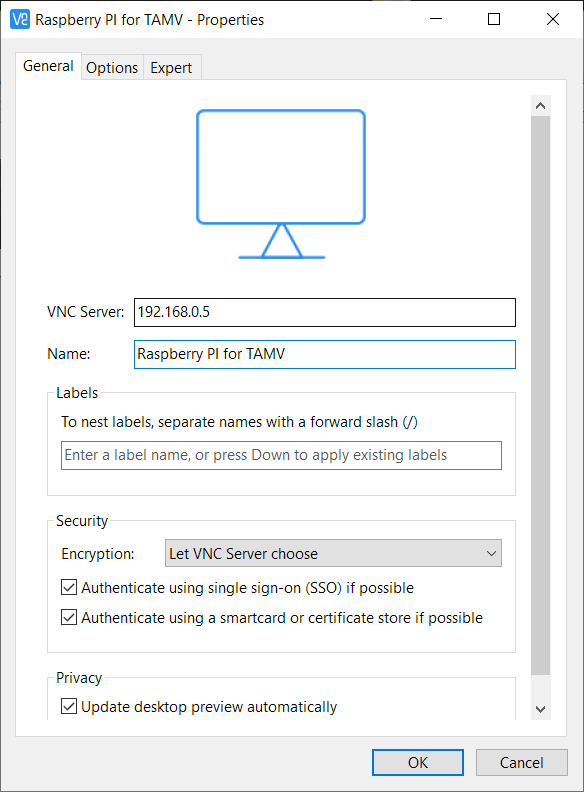
- Enter the IP address or network name of your Raspberry Pi in the “VNC Server” field, and give this connection a name to identify it in the VNC viewer connection list
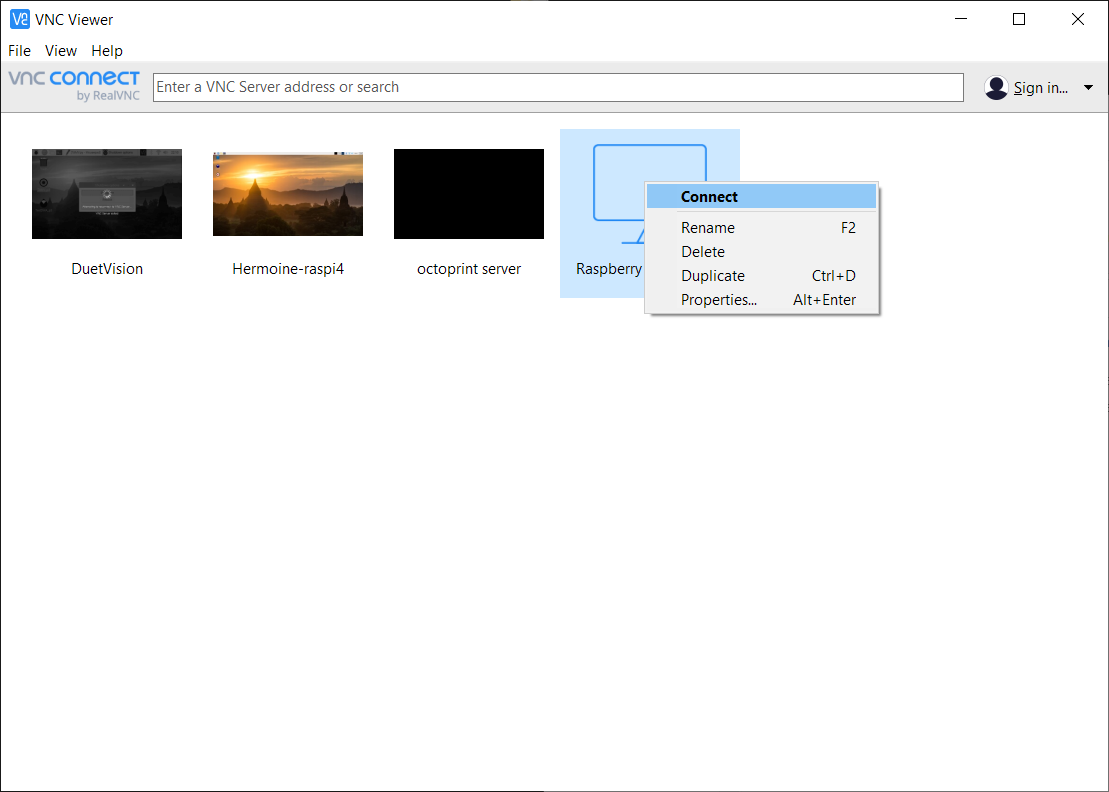
- Right-click on the new connection you’ve just created and select “Connect”
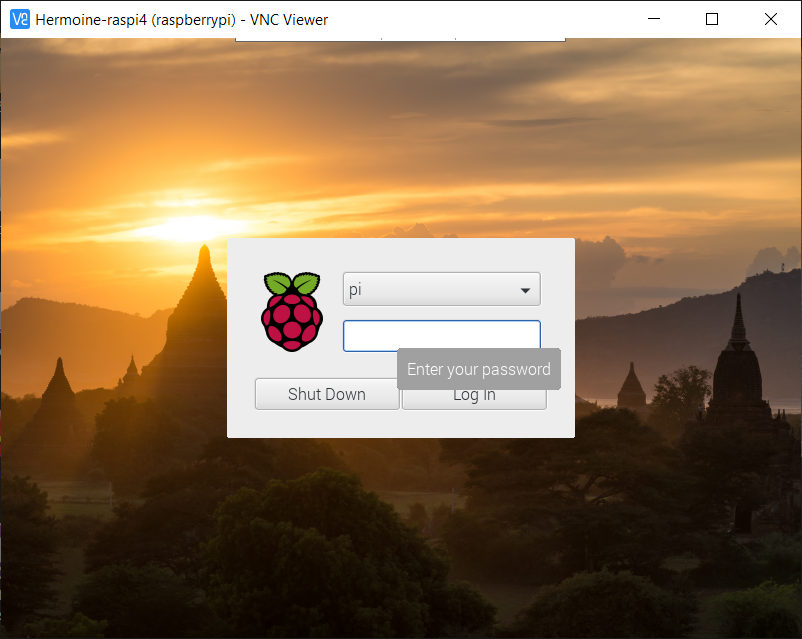
- You’ll be connected to your Raspberry Pi and prompted for a username and password. Use your SUDO login credentials (most commonly the Pi user) and click “Log In”
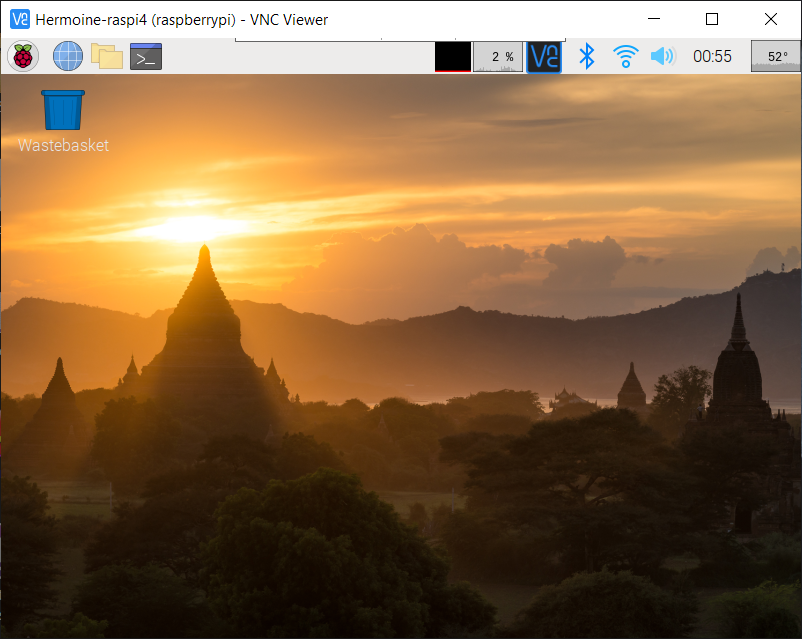
- Welcome to the Raspbian desktop! Your background and interface may vary depending on the version of Raspbian you have running on the Pi
Install the OpenCV libraries and dependencies
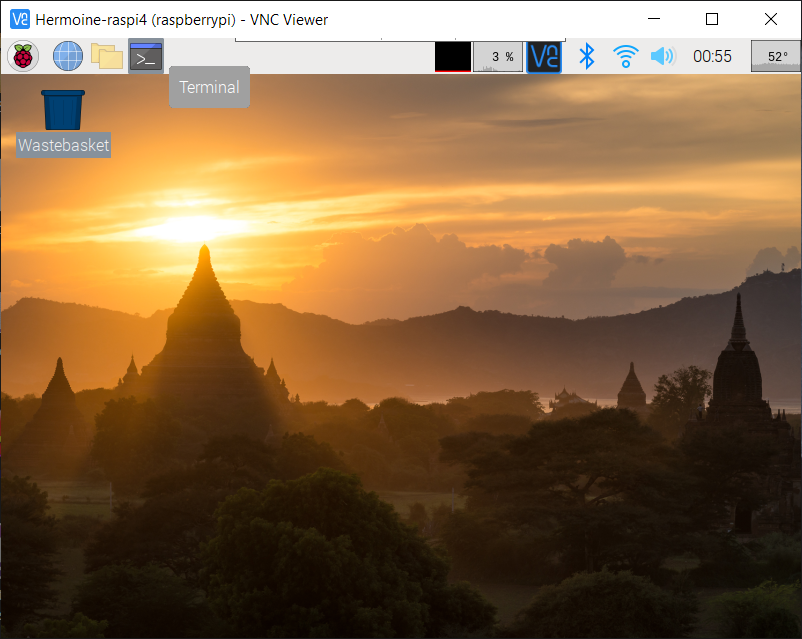
- Launch a new “Terminal” process to access the CLI (Command Line Interface) of your Pi
*****NOTE: The terminal will launch into your “home” directory, which is “/home/username” under Linux. The following screenshots were for a user called “tamv”, but generally you’ll be seeing the “pi” user - Run the following command from the prompt, which will clone the GitHub repo to the current folder you’re in:
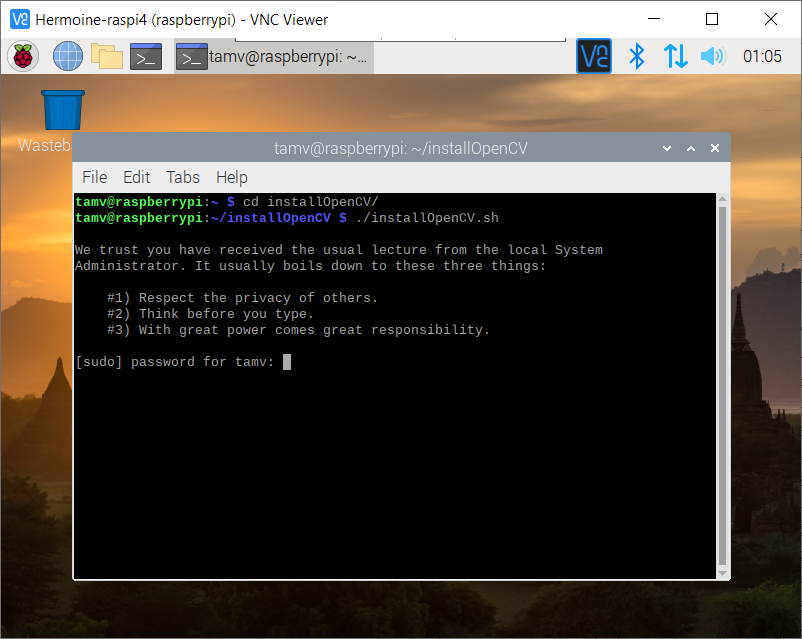
git clone https://github.com/DanalEstes/installOpenCV.git - Once the clone is done, you’ll need to switch to the new folder using:
cd installOpenCVand then run the installation script using:./installOpenCV.sh
You’ll get a welcoming message from Danal, and the script will prompt you for a sudo password to start installing any updates, dependencies, and upgrades needed to get OpenCV on your machine. Be warned that this process should take anywhere from 45 minutes to three hours to complete, and make sure your Pi doesn’t run out of power during this period, especially if you’re running it off a battery source. Go grab a coffee/tea/beer/nap until the process is done. It should complete without any RED errors (there will be YELLOW warnings, these are OK) since Danal did a great job of setting this up for everyone!
Once the process has been completed, do a little victory dance if you’d like.

Install the TAMV script
This step will install all the files necessary for the TAMV script to launch, including the DuetWebAPI library from the same repository on GitHub.
- Launch a terminal window into your home directory (if you don’t already have one open from the last step). Make sure you’re actually in the home location and your prompt looks similar to this: “pi@duet3:~ $”. If not, enter
cd - Run the following command to clone the repo to a local folder:
git clone https://github.com/HaythamB/TAMV.git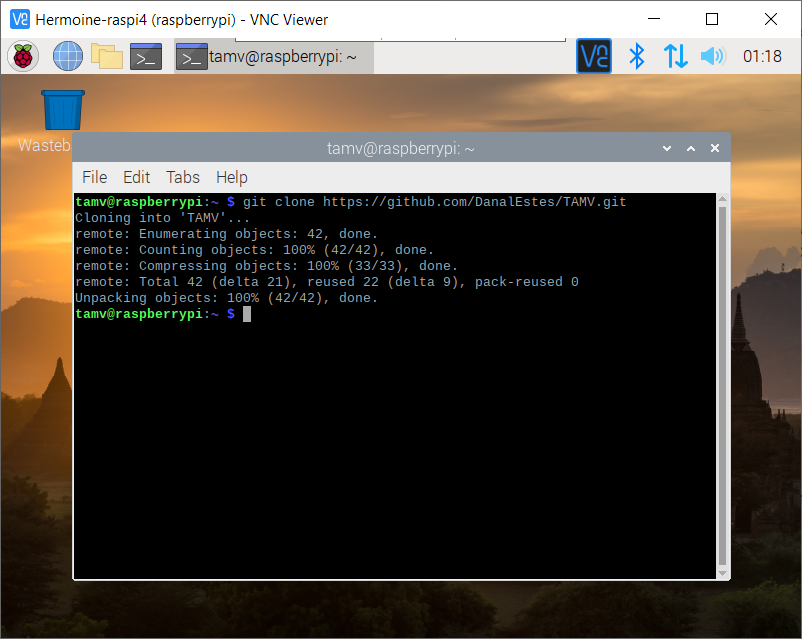
(pending) Webcam mounting and TAMV preparation
Preliminary steps 1. Mount webcam somewhere fixed on the bed using gluestick/double sided tape OR on the frame in a spot where the nozzle of the tool can be positioned over the lens. 2. Shorten webcam focal distance to about an inch away from the lens (webcams are generally set up for longer focus distances so this would probably necessitate opening up the camera shell and manually turning a focus ring) 3. Heat nozzles and clean up all nozzles from gunk and filament blobs to enable correct nozzle circle detection in TAMV. 4. Make sure they cool. You don’t want to ‘drool’ on the camera! 5. Set tool active and standby temperatures to 0 before running TAMV. Again to avoid drooling.
(pending) Running TAMV calibration for the first time
- Run TAMV with no arguments. This MUST be on a VNC session, not ssh (because you have to see the graphic image).
cdcd TAMV./TAMV.py
- It will mount Tool0 and ask you to jog the tool over the camera.
- Jog the tool to the camera, and adjust centering (rough), focus, etc, etc, so that there is a good view of the tool. 3.5 Make a note of the X Y where the tool is over the camera, to make future runs faster.
- Click back to the text window and press Ctrl+C one time.
For RRF2 and RRF3, everything after that will be automatic. The final output is G10 statements, one per tool, and those statements would have already been applied to your printer. You will still need to add these offsets to your config.g to make them persistently available.
(pending) Post calibration checklist
- Remove webcam from build plate
- Place the G10 commands in config.g
- If you have already manually aligned Z, time to print!
If not, take a look at the ZTATP script.
Future runs of TAMV: Supply that X Y you noted above ./TAMV.py xxx yyy and TAMV will not prompt you at all.
Updating To Latest
First Remove old files
cd TAMV/
rm TAMV*
rm ZTATP*
rm DuetWeb*
Then re-downloaded the updates
wget -N https://raw.githubusercontent.com/HaythamB/TAMV/master/TAMV.py
wget -N https://raw.githubusercontent.com/HaythamB/TAMV/master/ZTATP.py
wget -N https://raw.githubusercontent.com/HaythamB/TAMV/master/DuetWebAPI.py
Build the exe
chmod 744 TAMV.py
For features rundown
./TAMV.py -h