Difference between revisions of "Assembly Instructions"
Tsunaminaut (talk | contribs) m (→Tools) |
Poofjunior (talk | contribs) |
||
| Line 87: | Line 87: | ||
This wiring configuration matches the existing config files for the corresponding control board. | This wiring configuration matches the existing config files for the corresponding control board. | ||
| − | + | For wiring diagrams related to tools, see the assembly instructions for that particular page. | |
=== Supported Control Boards === | === Supported Control Boards === | ||
Revision as of 11:52, 16 May 2020
Hardware
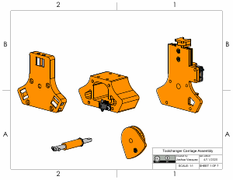
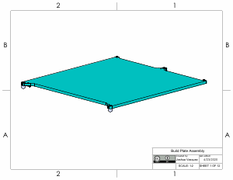
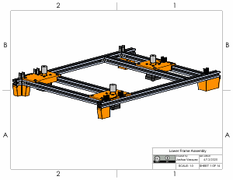
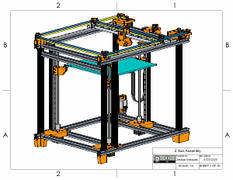
For the mechanical assembly, all subassemblies are detailed with step-by-step visual instructions.
Pre-requisite Knowledge
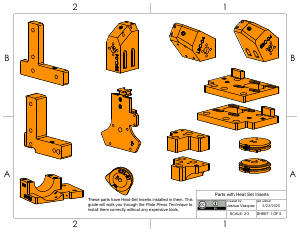
- Working with Heat-Set Inserts via the Plate Press Technique
- Working with Inside Corner Brackets
- How to use an Arbor Press
- Tip: print this Fastener Reference Sheet at 100% scale for an easy sanity check.
- How to crimp Molex Connectors
Frame Assembly Instructions
The instructions must be completed sequentially from Section 1 to Section 3. Instructions in the same section don’t depend on each other, so they can be done at the same time with a friend.
Part Prep
Section I
Some instructions relate to older versions of the design. They are:
Section 2
Additionally, video Links to the CoreXY assembly are provided below:
- 03 Carriage Center Installation
- 04 Y Rail Assembly
- 05 Plate Installation 1/2
- 06 Y Rail Installation
- 07 Plate Installation 2/2
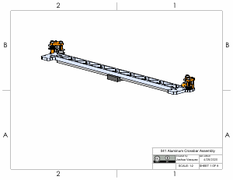
- 08 Crossbar Installation
- 08 Crossbar Adjustment
- 09 Carriage Back Installation
Section 3
Tools
Tools may be assembled out-of-order at any time.
E3D V6/Volcano Direct Drive Assembly
- [Passive Pen Tool Assembly]
Electronics
Pre-Requisite Knowledge
Wiring Diagrams
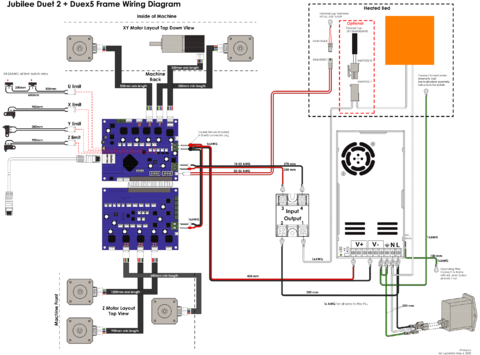
All wires needed for the frame are called out in the corresponding wiring diagram.
- Duet2 Frame Wiring Diagram PDF
- Duet3 Frame Wiring Diagram coming soon
This wiring configuration matches the existing config files for the corresponding control board.
For wiring diagrams related to tools, see the assembly instructions for that particular page.
Supported Control Boards
Currently, only the Duet2 in conjuction with the Duex5 Expansion board is fully supported.
Adding Control Boards
From a control board perspective, Jubilee requires the following functions:
- CoreXY kinematics
- Support for three Z-axis motors
- Z Bed Autotramming via 3-point Bed Leveling
- endstop-sensitive GCode for all axes in either direction.
- Specifically, both tool locking and unlocking routines act like a homing routine on a normal printer. Locking "homes" the axis by turning in one direction until it trips a limit switch. Unlocking "homes" the axis by turning in the other direction until it trips another limit switch. Both these limit switches are wired to the same port in series.
If your above control board supports all features, it will run a Jubilee.
The above requirements are fairly common to a number of control boards. On the Duet board (the primary supported board), tool locking and unlocking routines exist as short snippets of GCode files called macros. If your machine does not support such a feature to execute a small script of GCode, you will need to paste the contents of the lock and unlock scripts into your 3D Printer Slicer in the tool change section.
Tuning
Depending on your machine's target application, you may need to do some additional tuning.
